Smart Thermostat Zoning Setup Guide: Fix Uneven Temperatures in 2026
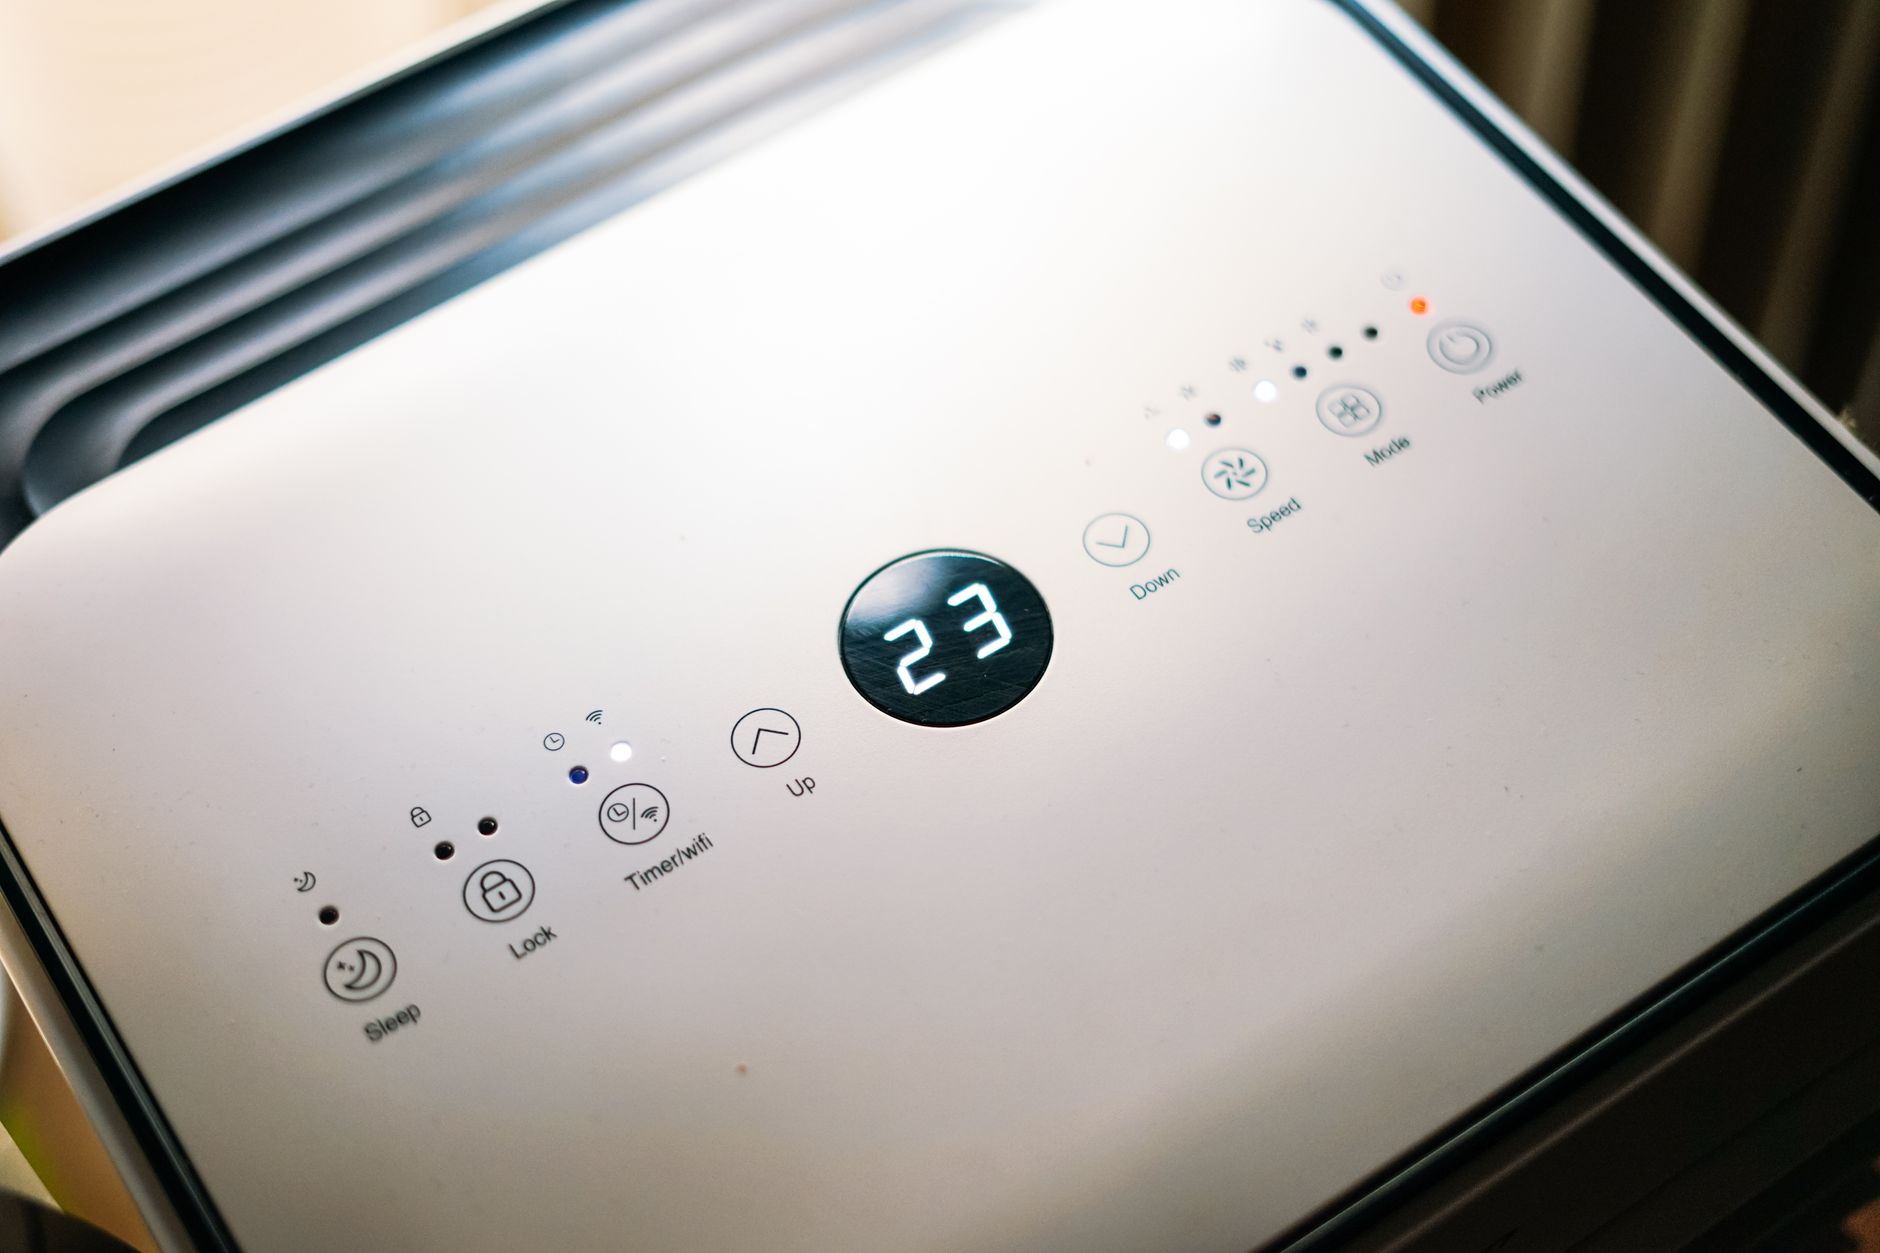
As we head into fall 2026, a lot of homeowners are having the same frustrating moment: the thermostat says 72°F, but the bedroom is 67°F, the office is 76°F, and someone on the couch is wearing a hoodie while someone else opens a window. With energy prices still unpredictable and more homes adding heat pumps, remote workspaces, and room-by-room automation, zoning has become one of the smartest upgrades you can make.
This smart thermostat zoning setup guide is for people who want practical help, not vague advice. If your home has hot upstairs bedrooms, a freezing basement, or one room that never matches the rest of the house, zoning can make a huge difference. The trick is understanding that zoning is not just “buy more thermostats.” It’s a system: sensors, airflow control, schedules, and realistic expectations.
Let’s break down how to do it right.
What smart thermostat zoning actually means
A lot of people think zoning means putting a smart thermostat in every room. Sometimes that’s true, but often it isn’t. In most homes, zoning means controlling temperature by area instead of treating the whole house like one giant room.
There are three common approaches:
- Sensor-based zoning: One smart thermostat uses remote room sensors to prioritize different spaces at different times.
- Smart vent zoning: Motorized vents open and close to redirect airflow.
- True HVAC zoning: A zoning panel, multiple thermostats, and motorized duct dampers control separate areas.
For many homes, the best starting point is sensor-based zoning because it’s affordable and easy. If your house has major airflow imbalance or multiple floors, true zoning may be the better long-term fix.
A good rule: if one room is always 3–5°F off from the rest of the house, start with sensors. If it’s 7°F or more, you may need airflow changes or real zoning hardware.
Start with the right thermostat and sensors
Before you buy anything, check your HVAC setup. Not every smart thermostat works well with every system, especially if you have a heat pump, dual-fuel setup, or multi-stage equipment.
Look for these features:
- Remote room sensors
- Occupancy detection
- Scheduling by room or sensor priority
- Compatibility with your HVAC type
- Support for Matter or your preferred ecosystem, if cross-platform control matters to you
Popular options in 2026 include ecobee, Nest, Honeywell Home, and some newer Matter-friendly models. The brand matters less than the feature set. If your main issue is a cold nursery at night and a hot office during the day, remote sensors are the feature you’ll use most.
Here’s the practical setup tip: place sensors where people actually spend time, not where it’s convenient. A sensor on a hallway wall is less useful than one in the bedroom, office, or family room. Keep them away from direct sunlight, supply vents, and exterior doors.
If you can, buy at least 2–4 sensors. One for the main living area, one for the bedroom zone, and one for the problem room is a solid starting point.
Decide between smart vents and real zoning
This is where a lot of homeowners overspend—or buy the wrong thing.
Smart vents are best for light correction
Smart vents can help redirect airflow into rooms that need more heating or cooling. They’re useful if:
- One or two rooms are consistently uncomfortable
- Your ductwork is accessible
- You want a DIY-friendly project
But they’re not magic. If you close too many vents, you can increase static pressure and strain your HVAC system. That can reduce efficiency and even shorten equipment life.
True zoning is better for bigger homes and bigger problems
A real zoning setup uses:
- A zone control panel
- Motorized dampers in the ducts
- Multiple thermostats
- Sometimes a bypass damper, depending on system design
This is the better option if you have:
- A two-story home with major temperature differences
- A finished basement
- A large open-plan area plus closed bedrooms
- Family members with very different comfort preferences
If you’re going this route, it’s often worth having an HVAC pro evaluate the ductwork first. Bad duct design can make even expensive zoning gear underperform.
A smart thermostat zoning setup guide for real homes
Here’s the setup process I’d recommend for most homeowners.
1. Map your problem areas
Walk through your home at different times of day and note:
- Which rooms run hot
- Which rooms run cold
- When the problem happens
- Whether doors are usually open or closed
Do this for a couple of days if possible. Patterns matter. A west-facing office may overheat every afternoon, while a basement bedroom may only feel cold overnight.
2. Check airflow before adding tech
Before installing anything smart, do the boring checks:
- Make sure supply vents are open
- Replace dirty filters
- Confirm furniture isn’t blocking returns
- Look for leaky or disconnected ducts in accessible areas
A clogged filter or closed damper can mimic a zoning problem. Fix the basics first.
3. Install sensors in the rooms that matter most
Start with the rooms where comfort matters daily:
- Bedroom
- Home office
- Living room
- Nursery
- Finished basement
Then assign sensor priority in the thermostat app. For example:
- Daytime: office + kitchen
- Evening: living room
- Night: bedrooms only
This is where zoning starts to feel “smart.” You’re no longer heating or cooling the whole house based on one hallway reading.
4. Build schedules around actual behavior
Don’t create a perfect schedule for a fantasy version of your life. Build one around what you really do.
Example:
- 6:30–8:30 a.m.: bedrooms and bathroom priority
- 9:00 a.m.–4:30 p.m.: office priority
- 5:00–10:00 p.m.: living room and kitchen
- Overnight: bedrooms only
If your thermostat supports occupancy-based control, use it. That can reduce wasted conditioning in empty rooms without you constantly adjusting settings.
5. Test in small increments
Don’t change five things at once. Adjust one zone, one schedule, or one sensor priority at a time. Give it 24–48 hours before judging the result. HVAC systems respond slowly, especially in older homes with poor insulation.
Common mistakes that ruin zoning performance
The biggest mistake is expecting software to solve an airflow problem. Smart thermostats are great, but they can’t overcome bad ductwork, poor insulation, or a system that’s oversized or undersized.
Watch out for these issues:
- Closing too many vents manually
- Using smart vents on every register without checking system pressure
- Placing sensors near windows or supply vents
- Setting extreme temperature differences between zones
- Ignoring humidity, which can make rooms feel hotter or colder than they are
Also, don’t chase perfection. A 1–3°F difference between rooms is normal in many homes. The goal is comfort and efficiency, not laboratory-level uniformity.
If your system short-cycles after zoning changes, that’s a red flag. You may need damper adjustments, different staging settings, or professional balancing.
How much energy can zoning save?
Done well, zoning can reduce wasted heating and cooling by focusing comfort where you actually are. Savings vary, but many homeowners see 5% to 15% reductions in HVAC energy use, especially in larger homes or homes with rooms that sit unused for long stretches.
The bigger win is often comfort. If you stop overheating the whole house just to warm one bedroom, your system runs smarter. If you stop cooling empty rooms all afternoon, the savings add up.
And in 2026, with more utilities offering time-of-use rates and demand-response programs, zoning can help you participate without feeling like you’re sacrificing comfort.
Conclusion
A good smart thermostat zoning setup guide should do one thing: help you stop fighting your house. If some rooms are always too hot or too cold, zoning gives you a smarter way to manage comfort without replacing your entire HVAC system.
Start simple. Add sensors, map your problem rooms, and build schedules around real life. If that’s not enough, move up to smart vents or a true zoning panel. The best setup isn’t the fanciest one—it’s the one that matches your home, your ductwork, and your daily routine.
If you’re planning your next smart home upgrade, this is one of the few projects that can improve comfort and cut energy waste at the same time.
Like what you're reading?
Check out our recommended partner for this niche.
Custom Automation Dev — HamDevCo →