
Smart Thermostat Wiring Compatibility Guide: Check Your System Before You Buy
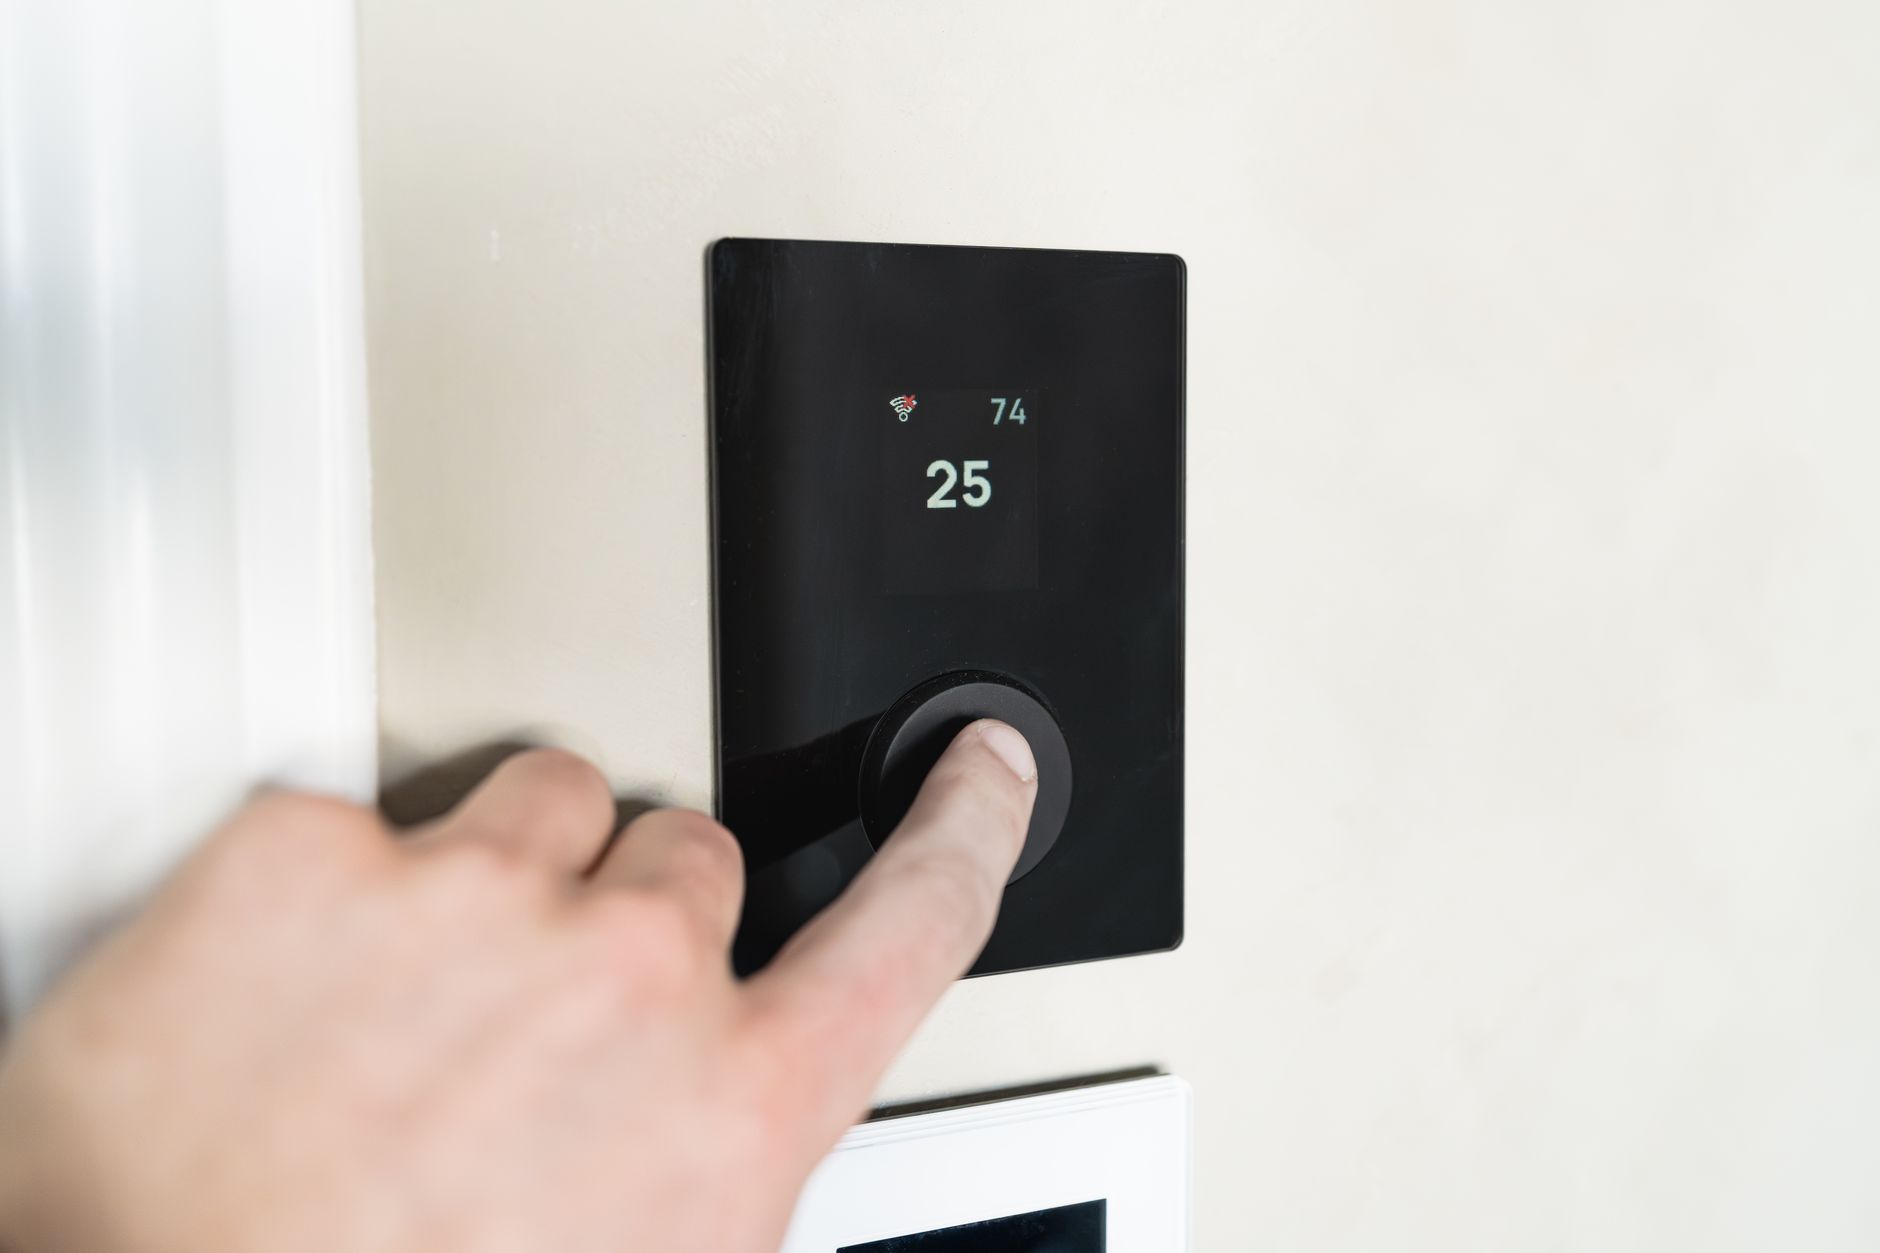
Fall is here, heating season is kicking in across most of the country, and smart thermostat sales are spiking right on cue. With utility rates climbing again this winter and manufacturers like Ecobee, Google, and Honeywell Home pushing aggressive holiday discounts, millions of homeowners are about to click “buy” on a thermostat that may not actually work with their wiring. That’s exactly why this smart thermostat wiring compatibility guide exists — because the number one reason smart thermostats get returned isn’t features or price. It’s compatibility.
The good news? Checking your setup takes about 15 minutes, requires zero tools beyond your phone’s camera, and can save you from a very frustrating weekend project. Let’s walk through it.
Why Wiring Compatibility Trips Up So Many Buyers
Here’s the uncomfortable truth most product pages bury in fine print: roughly 30-40% of homes built before 1990 lack the wiring most smart thermostats need for full functionality. Unlike your old battery-powered thermostat that sips power for a simple display, smart thermostats run Wi-Fi radios, color touchscreens, and occupancy sensors around the clock. That demands continuous power — and that’s where the famous “C-wire” comes in.
Before you compare features like geofencing or Matter support, you need to answer one question: what’s behind my current thermostat’s wall plate?
Step 1: Identify Your HVAC System Type
Not all heating and cooling systems speak the same language. Pop your current thermostat off its wall plate (most pull straight off or have a small release tab) and note the wire labels. Here’s what you’re likely dealing with:
Conventional (forced air) systems — the most common setup in North America. You’ll typically see:
- R or Rc/Rh — 24V power
- W — heating
- Y — cooling
- G — fan
- C — common wire (the one you may or may not have)
Heat pump systems — increasingly popular thanks to federal heat pump incentives still rolling out in 2026. Look for an O/B wire (reversing valve) and possibly AUX/E for auxiliary heat. Most modern smart thermostats handle heat pumps fine, but you must configure the O/B wire correctly during setup or your system will heat when it should cool.
High-voltage systems (line voltage) — electric baseboard heaters and some in-wall heaters run on 120V or 240V. You’ll see thick wires, often with wire nuts, and labels like L1/L2. Stop here. Standard smart thermostats from Nest, Ecobee, or Honeywell will NOT work — you need a line-voltage-specific model like the Mysa or Sinopé.
Boiler/radiant systems — often just two wires (R and W). These work with smart thermostats, but the missing C-wire becomes a real issue (more on that below).
Step 2: The C-Wire Check (This Is the Big One)
The C-wire, or “common wire,” completes the 24V circuit and delivers continuous power. Here’s how to check for one:
- Turn off power to your HVAC system at the breaker. Seriously — don’t skip this.
- Remove your thermostat faceplate and photograph the wiring.
- Look for a wire connected to the terminal labeled C.
- No wire on C? Don’t panic yet. Check if there’s an unused wire tucked into the wall — installers often ran 5-wire cable but only connected 4. Pull gently on the cable bundle and look for a spare (often blue or black).
If you have a C-wire: Congratulations, virtually every smart thermostat on the market will work. Buy based on features, not power workarounds.
If you don’t have a C-wire, you have four real options:
- Use the manufacturer’s adapter. Ecobee includes a Power Extender Kit (PEK) in the box — it installs at your furnace control board and repurposes an existing wire. Works great, but requires comfort working inside your furnace panel.
- Buy a thermostat that doesn’t strictly need one. The Google Nest Thermostat (2020 and later) is designed to power-steal from existing wires in many setups — though “many” isn’t “all,” and some users report HVAC short-cycling issues.
- Install a C-wire adapter like the Venstar Add-a-Wire (
$25) or run new thermostat cable ($75-150 if you hire it out). - Use a 24V transformer plugged into a nearby outlet — a solid DIY fix for boilers where running new wire is impossible.
Step 3: Match Your System to the Right Thermostat
Now for the fun part. Here’s a quick compatibility cheat sheet for 2026’s most popular models:
- Ecobee Smart Thermostat Premium (~$250): Works with conventional, heat pump, and dual-fuel systems. PEK included, so no C-wire is rarely a dealbreaker. Best room sensor ecosystem.
- Google Nest Learning Thermostat 4th gen (~$280): Broad compatibility, includes a trim plate, and its Power Connector accessory (~$25) solves most no-C-wire situations cleanly.
- Amazon Smart Thermostat (~$80): Budget king, but requires a C-wire or adapter — no workarounds included. Great if your wiring is already compatible.
- Honeywell Home T9/T10: Excellent for multi-stage systems and homes needing remote sensors. C-wire required.
- Mysa (~$140): The go-to for electric baseboard and in-wall heaters. If you have line voltage, this is your lane.
Pro tip: Every major manufacturer offers an online compatibility checker — Ecobee’s and Nest’s are genuinely good. Run your wire labels through two of them before purchasing. If the checkers disagree, trust the more conservative answer.
Step 4: Watch for These Compatibility Gotchas
Even with the right wires, a few scenarios can bite you:
- Dual-fuel systems (heat pump + gas furnace backup) need thermostats that explicitly support them — Ecobee and Nest handle this; many budget models don’t.
- Multi-stage systems (2-stage heat, 2-stage cool) require terminals like W2 and Y2. Verify the thermostat supports your stage count.
- Zone systems with multiple thermostats usually work fine, but each zone’s thermostat needs its own compatible wiring.
- Proprietary communicating systems from Carrier, Trane, or Lennox use digital communication instead of standard 24V wiring. If your current thermostat has terminals labeled A, B, C, D or says “communicating,” you’ll likely need a brand-matched smart thermostat or a professional conversion.
Your Next Steps
This smart thermostat wiring compatibility guide boils down to a simple sequence: photograph your wires, identify your system type, confirm your C-wire situation, then shop. Fifteen minutes of homework beats a return shipment and a cold house every time.
Once you’ve confirmed compatibility, you can shop confidently on features — Matter support, energy reports, utility rebate eligibility (many utilities still offer $50-100 rebates, effectively paying for a budget model outright). And if your wiring situation turned out to be trickier than expected, a $100-150 professional install is still cheaper than buying the wrong thermostat twice.
Heating season waits for no one. Check those wires this weekend.
Like what you're reading?
Check out our recommended partner for this niche.
Custom Automation Dev — HamDevCo →