Smart Thermostat Installation Cost Breakdown: What You'll Actually Pay in 2026
Heating season is knocking, and with natural gas prices still fluctuating heading into winter 2026, homeowners are racing to get their HVAC systems optimized before the first cold snap. If you’ve been eyeing a Nest, Ecobee, or Honeywell Home unit, you’re probably asking the same question everyone asks: what’s the real smart thermostat installation cost breakdown? Not the marketing fluff — the actual dollars and cents.
Here’s the short answer: most homeowners spend between $150 and $450 total, depending on whether they DIY or hire a pro, and whether their wiring cooperates. But that range hides a lot of variables that can push your bill higher (or lower) than expected.
Let’s break it all down so you can budget with confidence.
Why Smart Thermostats Are Having a Moment Right Now
The timing isn’t coincidental. The Department of Energy estimates that heating and cooling account for roughly 43% of the average home’s energy bill, and utility companies across the U.S. have expanded rebate programs in 2025 and 2026 to push adoption of connected thermostats. Some providers are offering $75 to $150 instant rebates just for installing an ENERGY STAR-certified model.
Meanwhile, Matter 2.0 support has made cross-platform compatibility nearly seamless, meaning your new thermostat plays nicely with Alexa, Google Home, Apple HomeKit, and SmartThings without the headaches of a few years ago. The barrier to entry has never been lower — but installation costs still catch people off guard.
Smart Thermostat Installation Cost Breakdown: The Core Numbers
Let’s get specific. Here’s what each component of the project typically costs:
The Thermostat Itself: $80–$300
This is the most visible cost, and it varies widely:
- Budget tier ($80–$130): Amazon Smart Thermostat, Honeywell Home T5, Wyze Thermostat. These handle scheduling, geofencing, and basic learning. Perfectly fine for most homes.
- Mid-range ($130–$200): Google Nest Thermostat (2024 model), Ecobee3 Lite. You get better sensors, nicer displays, and more robust app ecosystems.
- Premium ($200–$300): Ecobee Smart Thermostat Premium, Nest Learning Thermostat (4th gen). These include remote room sensors, built-in air quality monitoring, and advanced AI-driven scheduling.
Pro tip: Don’t overspend here. A $130 thermostat installed correctly will outperform a $300 unit installed poorly every single time.
DIY Installation: $0–$50 (Your Time + Possible Tools)
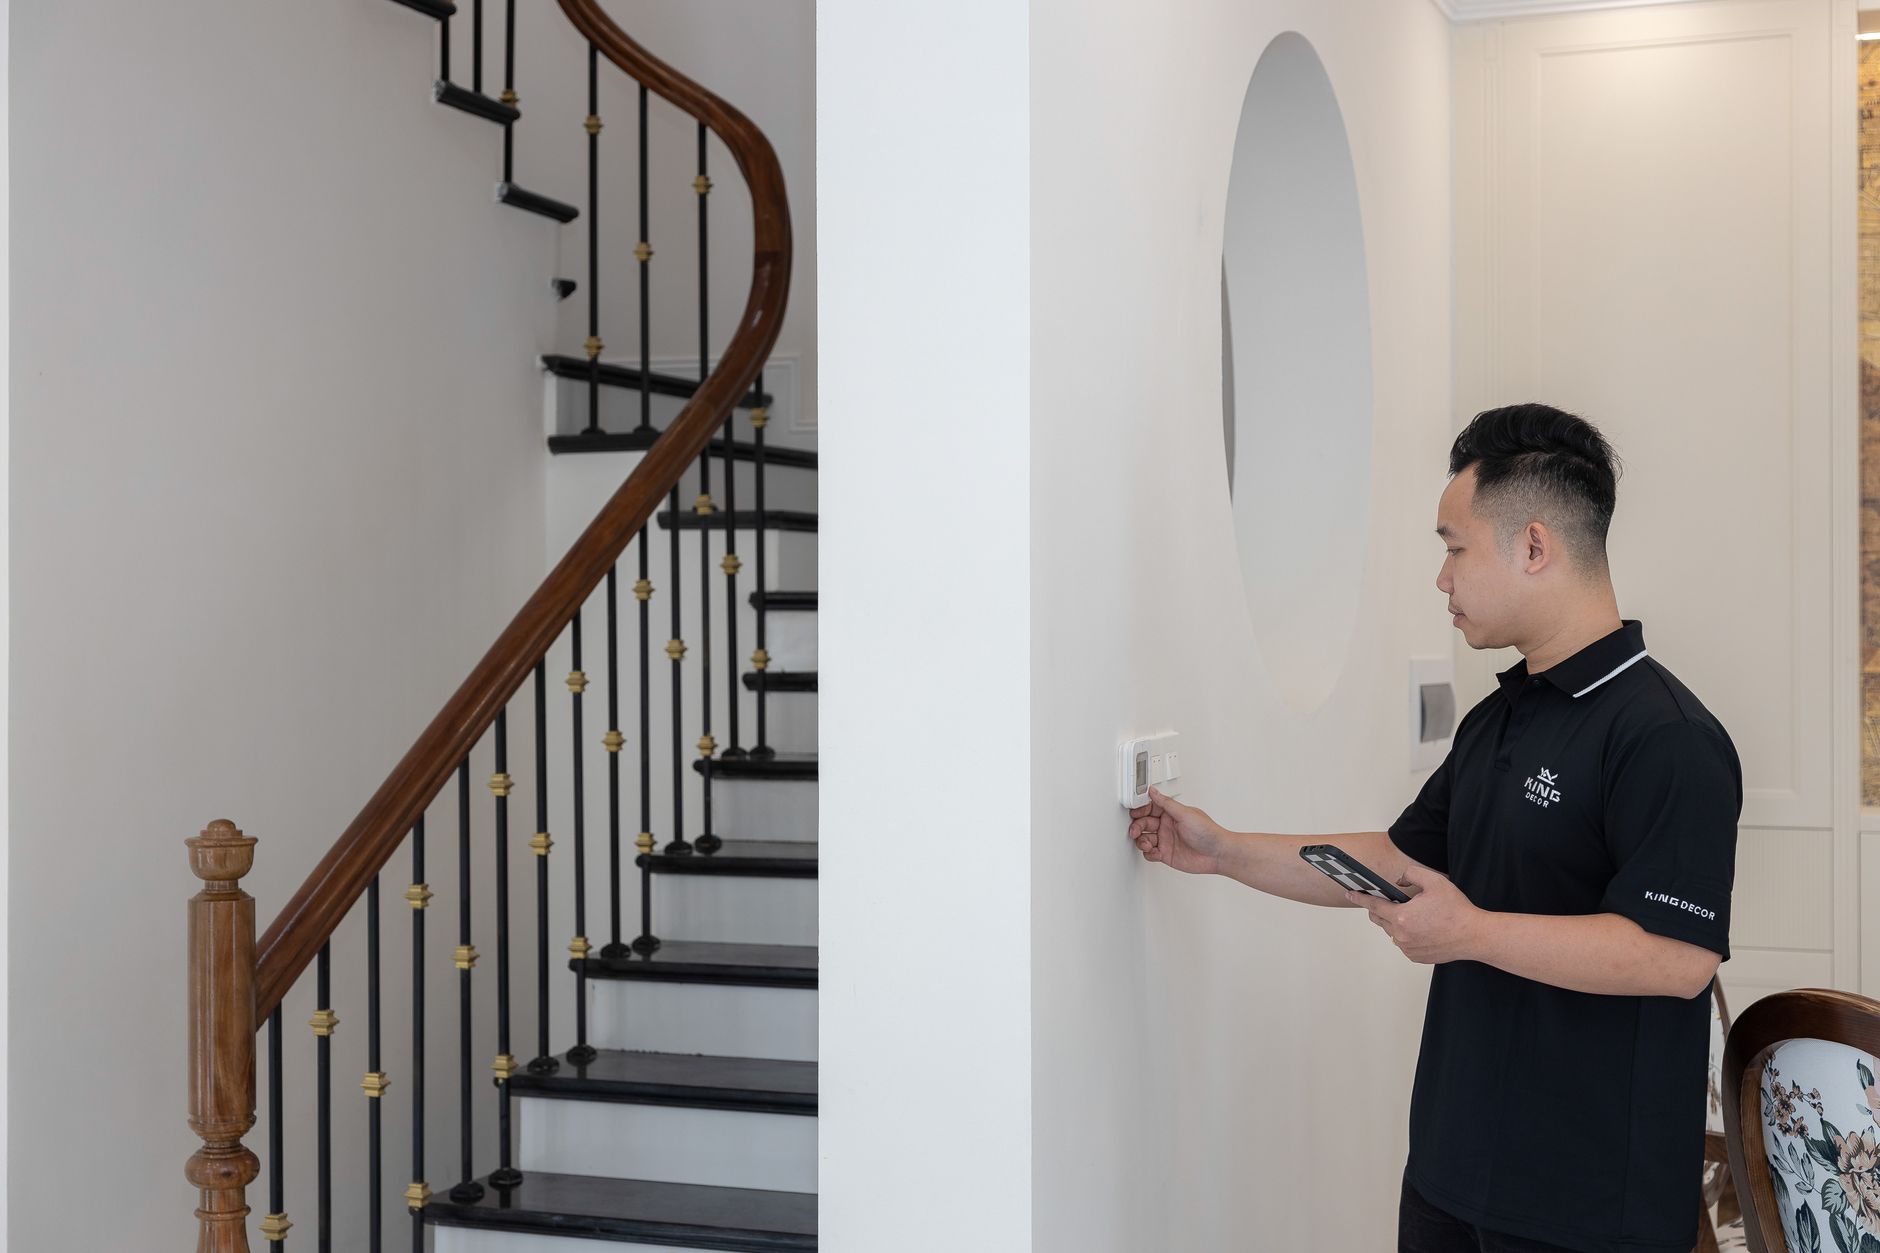
If you’re comfortable turning off your HVAC breaker, taking a photo of your existing wiring, and following an app-guided setup, DIY installation is genuinely achievable for most people. Modern thermostats from Nest and Ecobee walk you through the process step by step with wire detection and compatibility checks.
Potential DIY costs:
- Wire labels or stickers: $5–$8 (some units include them)
- A C-wire adapter kit: $20–$30 if your system lacks a common wire
- Wall plate or trim kit: $10–$15 if your old thermostat left marks or holes
Time investment: Expect 30–60 minutes for a straightforward swap, up to 2 hours if you hit wiring surprises.
Professional Installation: $100–$250
Hiring an HVAC technician or licensed electrician makes sense if:
- Your system uses high-voltage wiring (baseboard heaters, for example)
- You have a multi-stage or heat pump system with complex wiring
- You need a new C-wire run through walls
- You simply don’t want to deal with it
Most HVAC companies charge $100–$150 for a standard thermostat swap if wiring is compatible. That jumps to $200–$250 if they need to run a new common wire or troubleshoot compatibility issues with older systems.
Some utility companies and retailers (like Amazon’s installation service or Best Buy’s Geek Squad) offer flat-rate installation for $99–$129, which can be a solid middle-ground option.
The Hidden Costs Nobody Mentions
This is where budgets blow up. Watch for these:
The C-Wire Problem
The single most common installation hiccup. Most smart thermostats need a C-wire (common wire) to provide continuous 24V power. Homes built before the mid-2010s often don’t have one connected to the thermostat.
Your options and costs:
- Use a C-wire adapter (power extender kit): $20–$30, included free with some Ecobee and Nest models. This is the easiest fix.
- Run a new C-wire: $150–$300 professionally, depending on wall access and distance from your HVAC air handler.
- Use a “no C-wire” thermostat: Some models (like the Nest Thermostat 2020) can work without one using power-stealing technology, but this can cause issues with certain HVAC systems — short cycling, Wi-Fi dropouts, or the dreaded “delayed” error message.
HVAC Compatibility Surprises
Not every system works with every thermostat. Common gotchas:
- Millivolt systems (some gas fireplaces and wall heaters): Not compatible with most smart thermostats without a relay adapter ($30–$60).
- Proprietary communicating systems (like some Carrier Infinity or Lennox iComfort setups): These require manufacturer-specific thermostats, which can cost $300–$600+.
- Dual-fuel heat pump systems: Require thermostats that support auxiliary heat staging — check compatibility before buying.
Action step: Use the manufacturer’s online compatibility checker (Nest and Ecobee both have excellent ones) before purchasing. It takes five minutes and can save you a return trip.
Electrical Panel or Furnace Control Board Issues
Occasionally, the problem isn’t at the thermostat — it’s at the furnace. If your control board doesn’t have an available C terminal, or if the transformer is underpowered, a technician might need to make adjustments. Budget an extra $75–$150 for this possibility if your system is more than 15 years old.
How to Slash Your Total Cost
Here’s where smart shopping pays off:
Stack Utility Rebates
Check your utility provider’s website for smart thermostat rebates. As of late 2026, many providers offer:
- Instant rebates at checkout through their online marketplace ($50–$150 off)
- Post-purchase mail-in rebates ($25–$100)
- Demand-response program enrollment bonuses ($25–$85/year) if you allow the utility to make small temperature adjustments during peak events
Some homeowners have effectively gotten their thermostat for free or close to it by stacking these incentives.
Time Your Purchase
Smart thermostats see their deepest discounts during:
- Black Friday / Cyber Monday (typically 20–35% off)
- Earth Day promotions (April)
- Amazon Prime Day (July)
- Utility-sponsored seasonal sales (often September–October, right before heating season)
DIY What You Can, Hire for What You Can’t
A hybrid approach works well: buy the thermostat yourself (capturing sales and rebates), do the physical swap, and only call a pro if you hit a wiring issue. Many HVAC companies offer diagnostic visits for $50–$80 that they credit toward installation if you proceed.
Real-World Cost Scenarios
To make this concrete, here are three typical situations:
Scenario 1 — The Easy Swap: Sarah has a 2018 home with a C-wire already in place. She buys a Google Nest Thermostat on sale for $100, installs it herself in 40 minutes using the app’s guided setup, and claims a $50 utility rebate. Total cost: $50.
Scenario 2 — The C-Wire Challenge: Mike’s 2005 home lacks a C-wire. He buys an Ecobee Smart Thermostat Enhanced ($180) which includes a Power Extender Kit, installs it himself in about 90 minutes, and claims a $75 rebate. Total cost: $105.
Scenario 3 — The Full Professional Job: Lisa has a 1995 heat pump system with no C-wire and a confusing wire bundle. She buys a Nest Learning Thermostat ($250), hires an HVAC tech to run a new C-wire and install the unit ($225), and claims a $100 rebate. Total cost: $375.
The Payback Math That Makes This Worth It
Even at the higher end of the cost spectrum, smart thermostats pay for themselves. ENERGY STAR estimates average savings of 8% on heating and cooling bills, which translates to roughly $50–$100 per year for most households. Ecobee claims up to 26% savings with their eco+ features enabled, and Nest reports similar figures for homes with consistent occupancy patterns.
At $75–$100/year in savings, even the $375 professional installation scenario pays for itself in under five years — and the thermostat will likely last 8–10 years. Factor in the comfort improvements (no more waking up to a freezing house), remote access, and integration with your broader smart home routines, and the value proposition gets even stronger.
Your Next Steps
Understanding the full smart thermostat installation cost breakdown puts you in control of the project instead of at the mercy of surprise charges. Here’s your action plan:
- Check your wiring — pop your current thermostat off the wall and look for a wire in the C terminal
- Run a compatibility check on Nest or Ecobee’s website
- Search your utility provider’s rebate page before buying anything
- Decide DIY vs. pro based on your wiring situation, not your confidence level — the apps genuinely make it easy when wiring cooperates
- Buy during a sale window if you can wait a few weeks
With heating costs projected to stay elevated through winter 2026-2027, there’s no better time to make the upgrade. Your wallet — and your future self on a cold January morning — will thank you.
Like what you're reading?
Check out our recommended partner for this niche.
Custom Automation Dev — HamDevCo →